How I Built An Artificial Turf Backyard Golf Green for Under $200

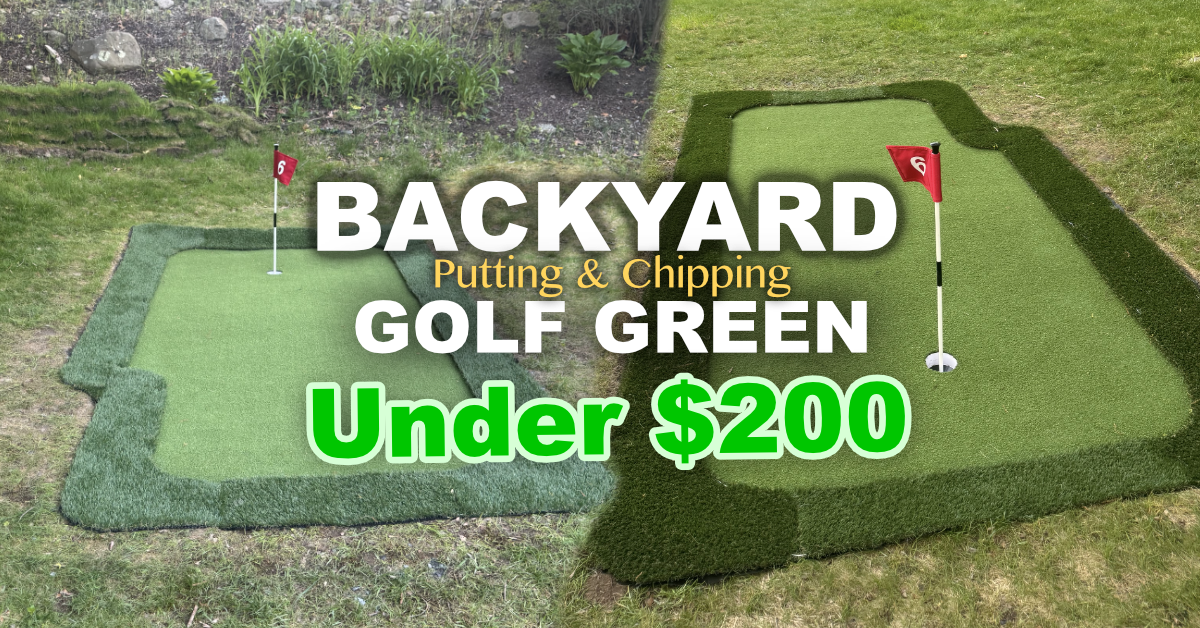
Step-by-Step Instructions to build a backyard putting green:
- Choose your location. Look for a flat, well-drained spot. Avoid areas where water pools after rain, and make sure you’re not digging over water, electrical, or gas lines.
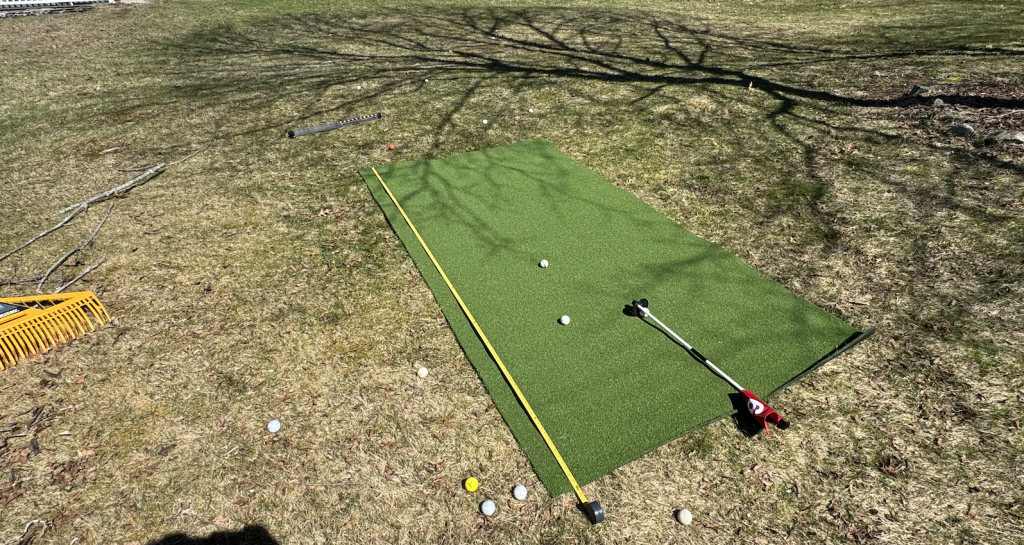
- Cut the turf to shape. Use a box cutter to cut the green to your desired shape. Always cut from the backside, never through the grass blades. It cuts easily. I made a gentle curved cut in the front-left corner to add some character while keeping the usable area as large as possible.
- Mark your digging area. Lay the cut turf in position and use an edger to mark a line about one inch outside its perimeter. This gives you your dig boundary.
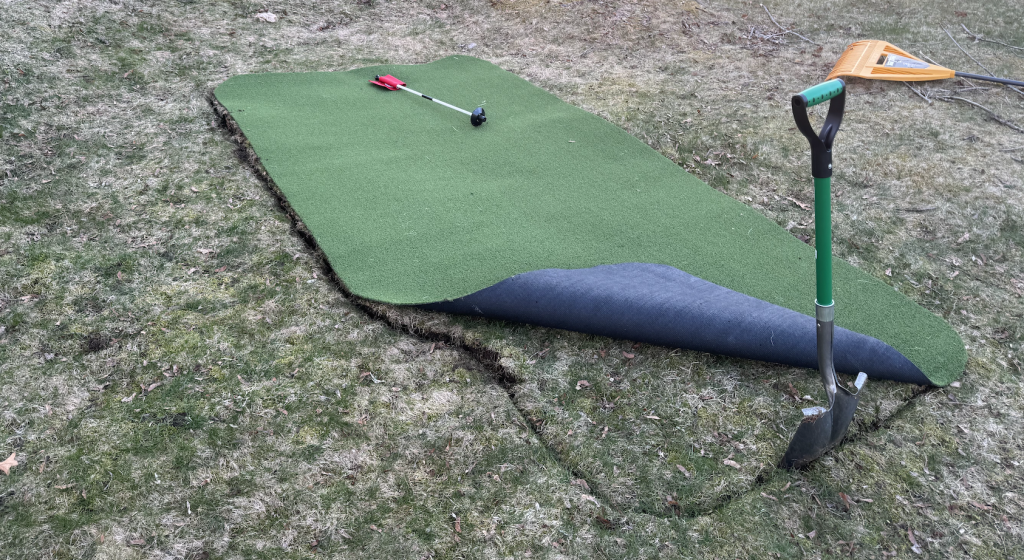
- Dig out the area 4–6 inches deep. This depth provides enough room for crushed stone drainage and a firm, lasting base that won’t need to be re-tamped frequently.
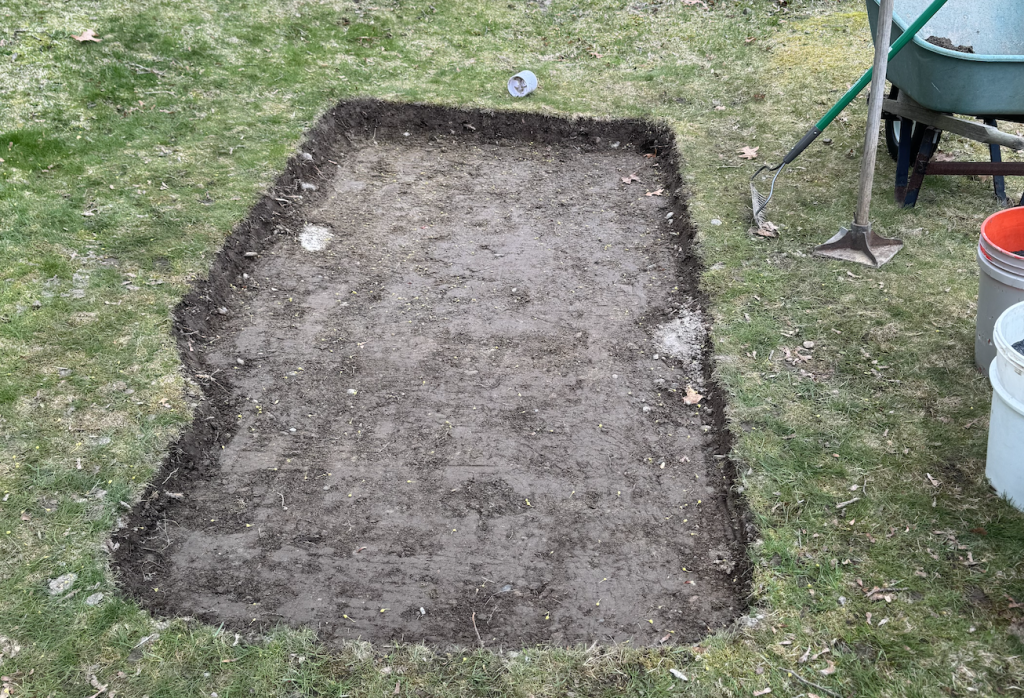
- Tamp the bottom of the hole flat. Use a hand tamper to level and compact the exposed dirt.
- Source your crushed stone. Do not buy this from a big box store because you’ll pay far more than necessary. Instead, visit your local quarry or landscape supply company. I purchased a half-yard of 1/2-inch crushed stone with fines for just $26. The crushed stone promotes drainage, and the fines allow you to create a smooth, even top layer.
- Lay down landscaping fabric. Spread the weed-barrier fabric over the bottom and sides of the hole, letting it overhang the edges by about 12 inches. Toss a little crushed stone on it right away to keep it from blowing away. You’ll trim the excess later.
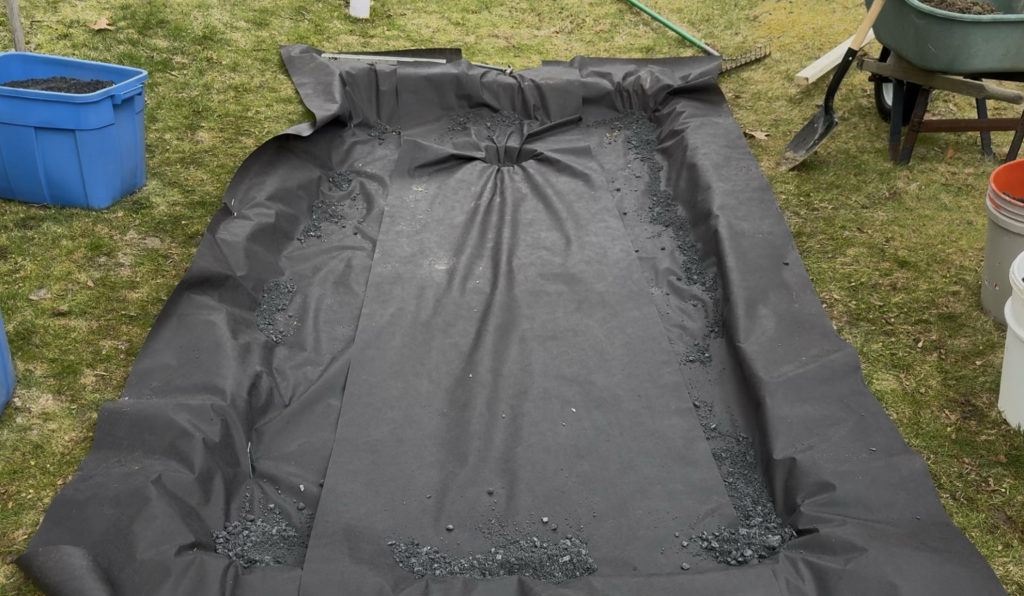
- Add and compact the crushed stone. Fill the hole in two-inch layers. After each layer, wet it with a hose and tamp it down firmly. Repeat until the hole is filled to the desired level.
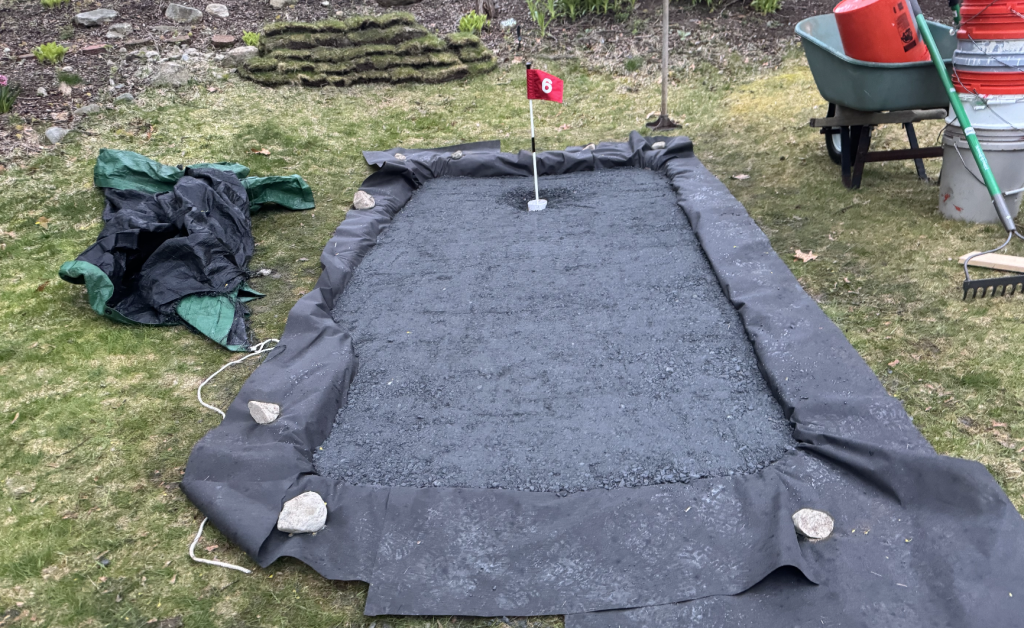
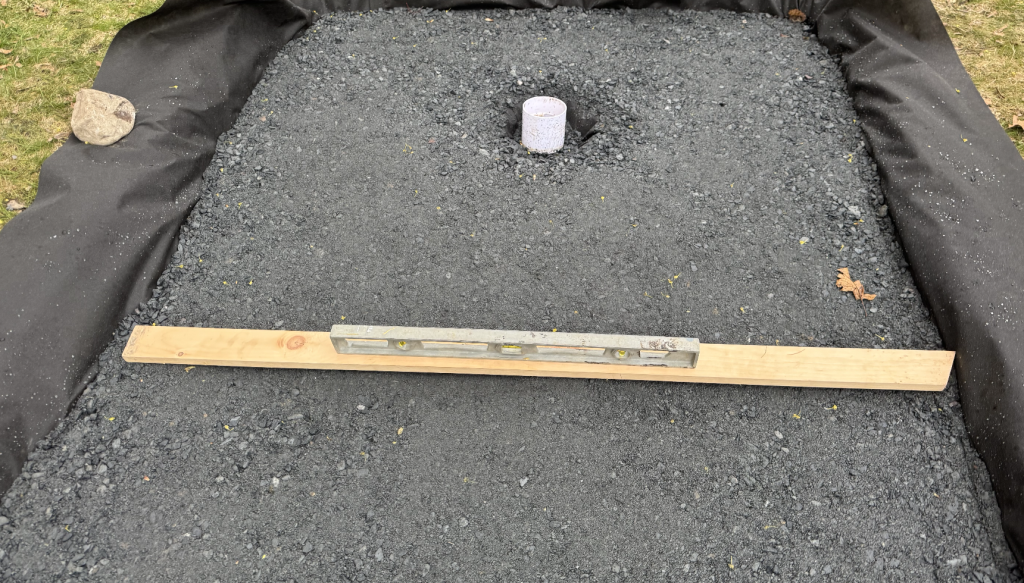
- Level the surface and add any contours. Lay a 2×4 across the surface and drag it along to check for high or low spots. Fill in any depressions with additional fines. If you want gentle contours or a subtle slope, build them up now with extra crushed stone and tamp smooth.
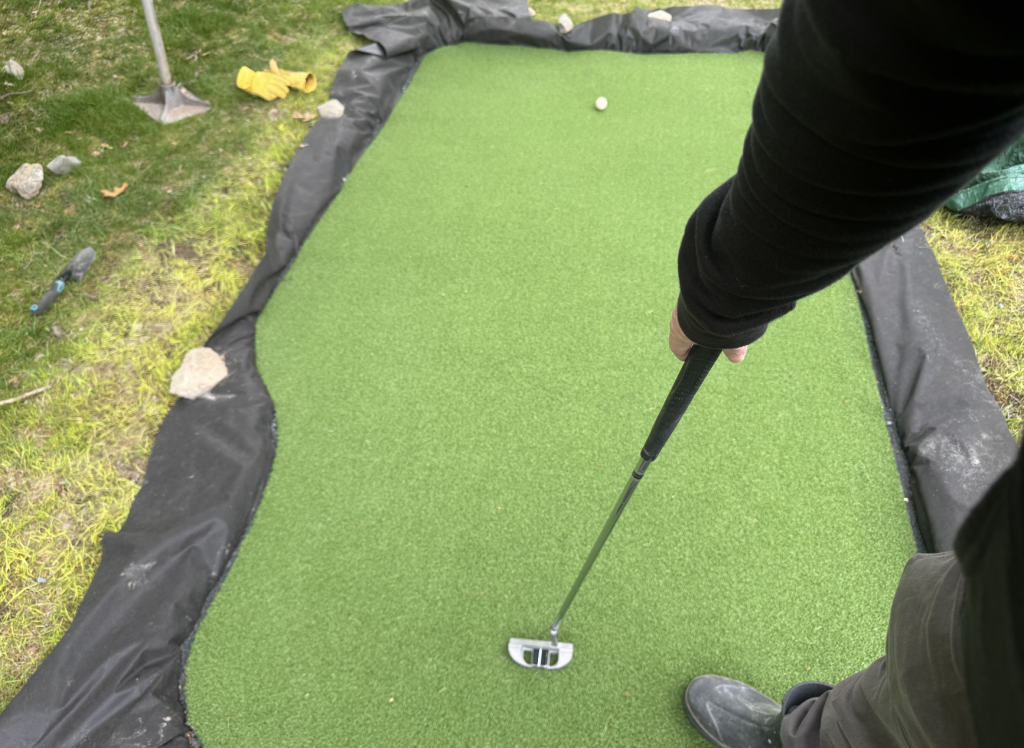
- Do a test roll. Temporarily lay the turf down and roll a few putts to check the feel and ball speed. Make any surface adjustments before committing.
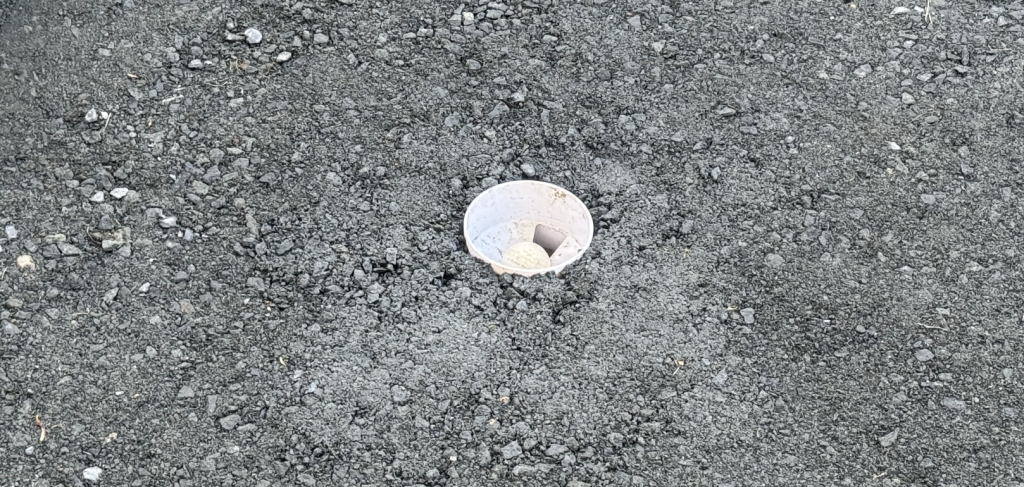
- Mark and dig the cup location. Once you’re happy with how the surface rolls, decide where you want the hole and dig it out of the compacted stone with a small gardening trowel.
- Set and level the cup. Place the cup in the hole and use a level to confirm it sits flat in all directions. Pack crushed stone fines around it and tamp securely. The rim of the cup should sit just slightly above the stone base so it will be flush with the turf once laid.
- Lay the turf. Position the turf over the base, aligning it exactly where you want it.
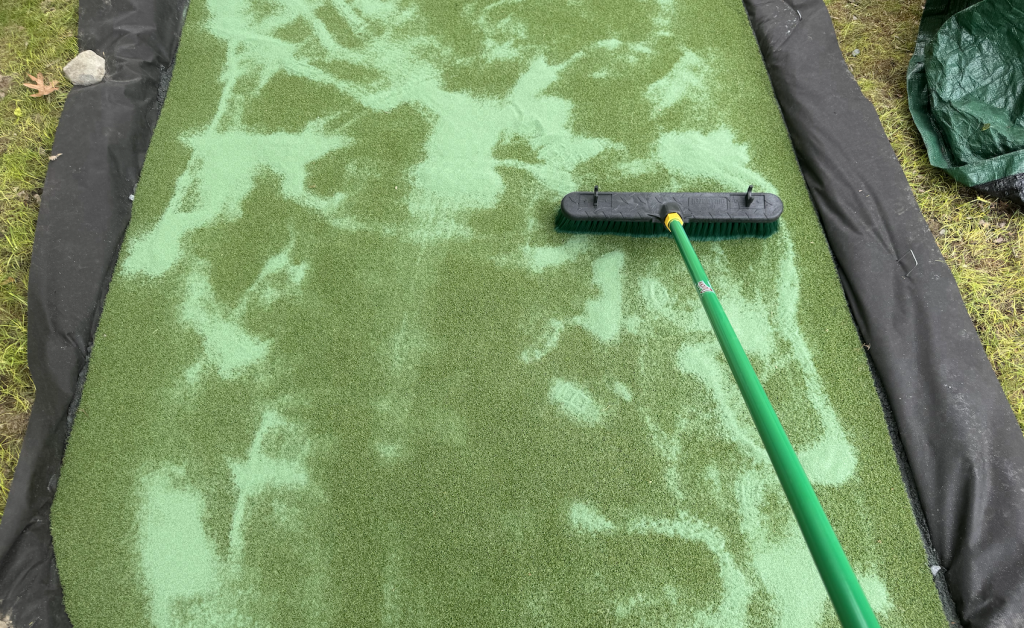
- Add Envirofill infill (optional but recommended). Spread a 50-lb bag of 30/50 Envirofill over the turf surface. This fine-grade infill is designed specifically for putting greens and is the safest, most sanitary option — silica sand can be harmful to pets, and play sand retains moisture that can lead to mold and premature turf degradation. I sourced my bag directly from a local turf installer for $30, which was significantly cheaper than online pricing.
- Brush in the infill. Using a large stiff-bristle broom, work the Envirofill into the turf in all directions. It will sink between the blades and disappear completely.
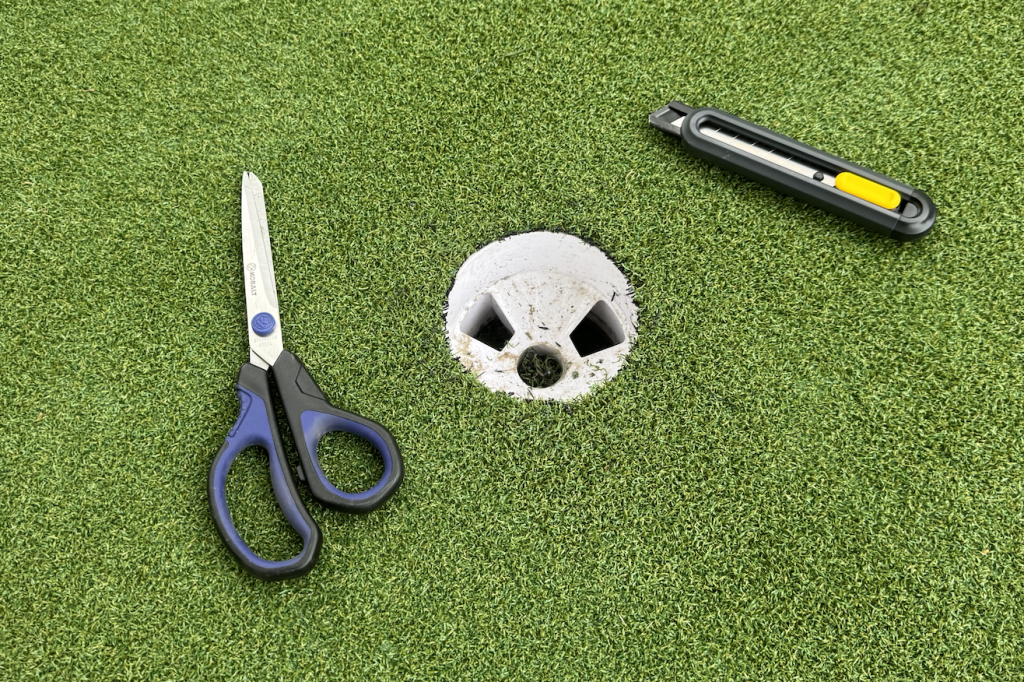
- Cut the hole in the turf. Find the cup by gently tapping the surface until you hear a hollow sound. Using a sharp box cutter with a sawing motion, carefully cut a circle around the inside edge of the cup. Take your time, patience here pays off.
- Secure the turf edges. Hammer landscaping staples around the perimeter to hold the turf firmly in place.
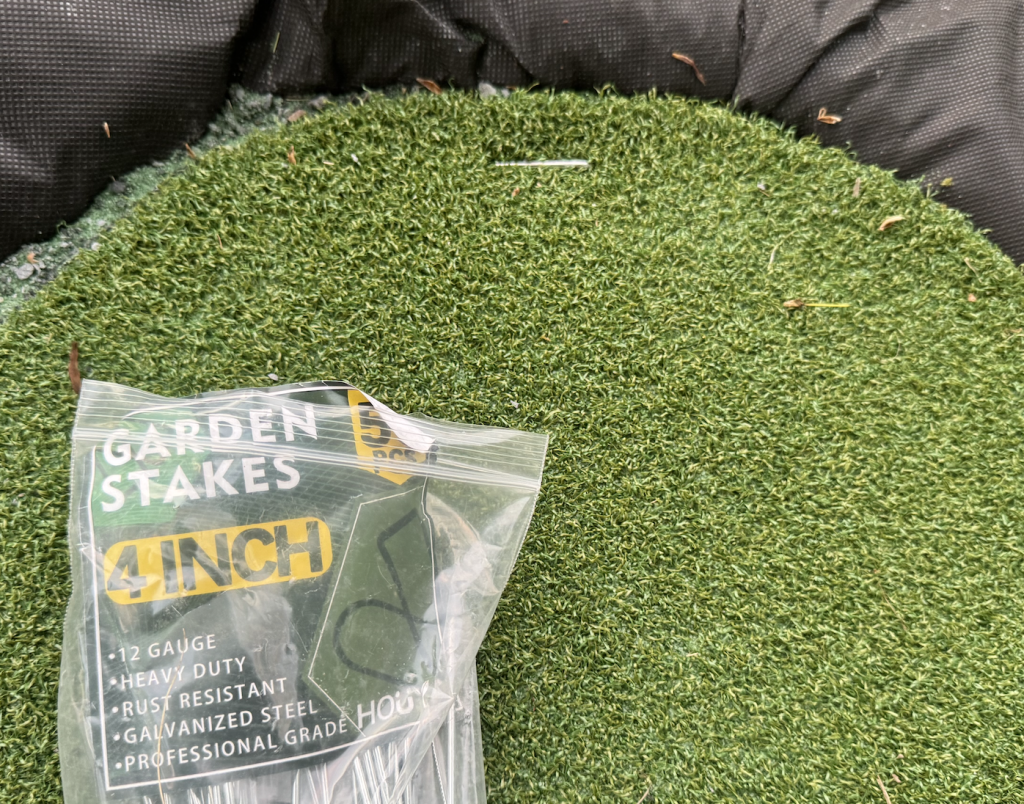
If you’re not adding a fringe, just trim off the excess landscaping fabric and you’re done — go putt! 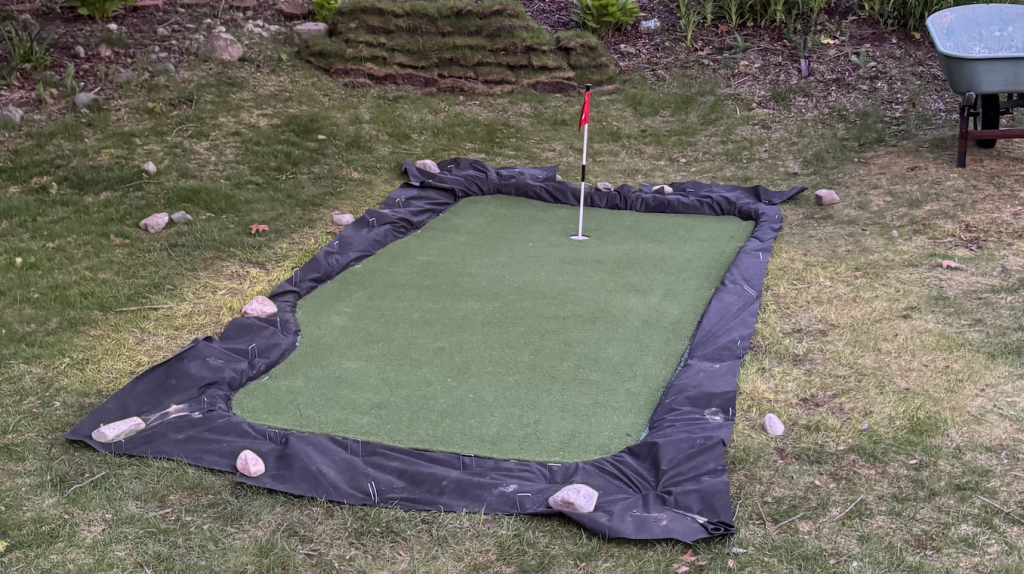
Adding a Fringe (Optional)
- Purchase a taller-pile turf and cut it into 9-inch-wide strips using a box cutter (cut from the back).
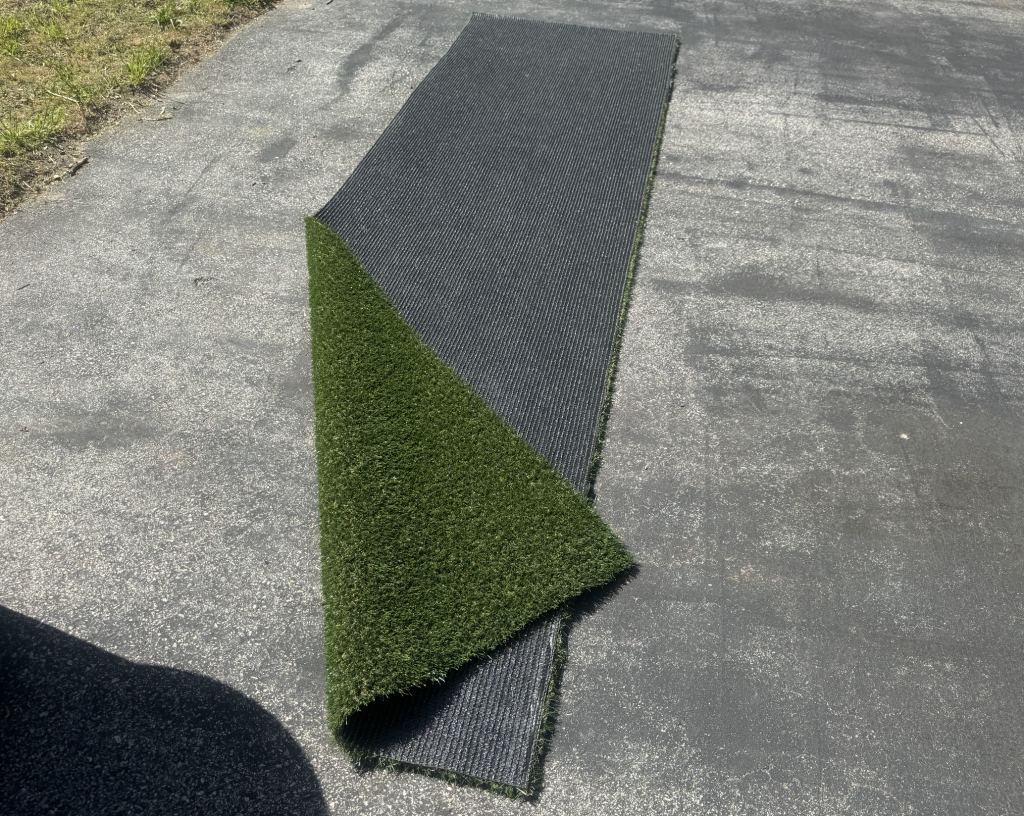
- Secure the fringe strips around the perimeter of the green using landscaping staples.
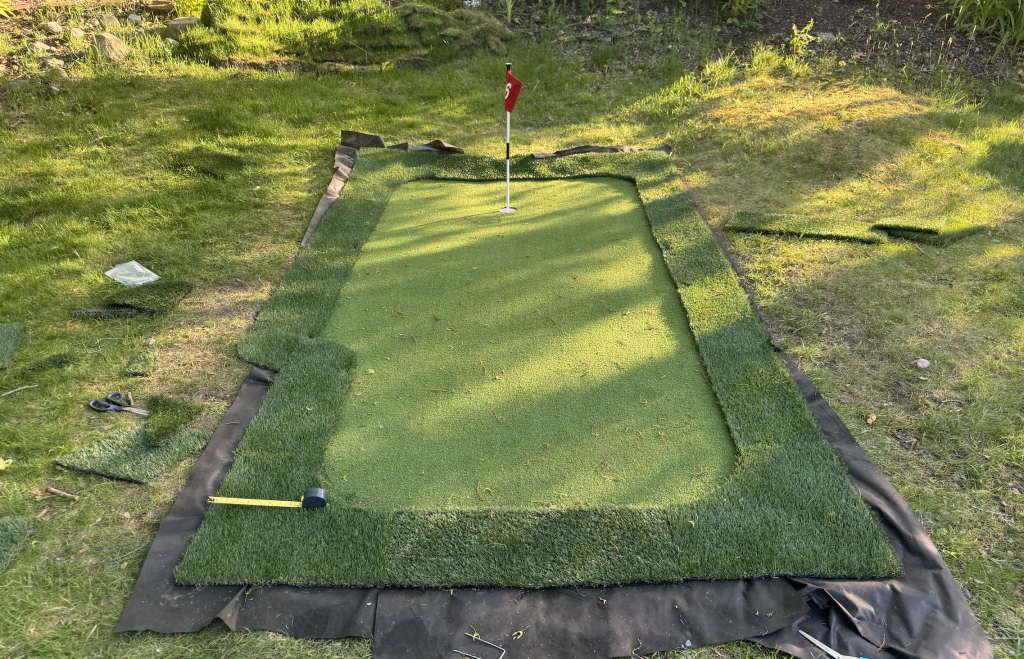
- Trim off any excess landscaping fabric that’s still visible around the edges.
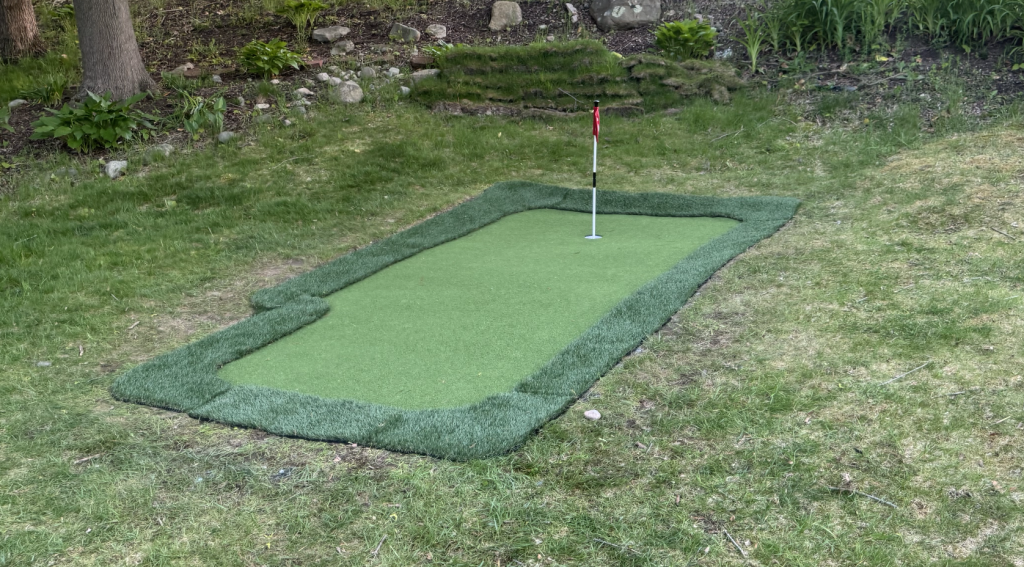
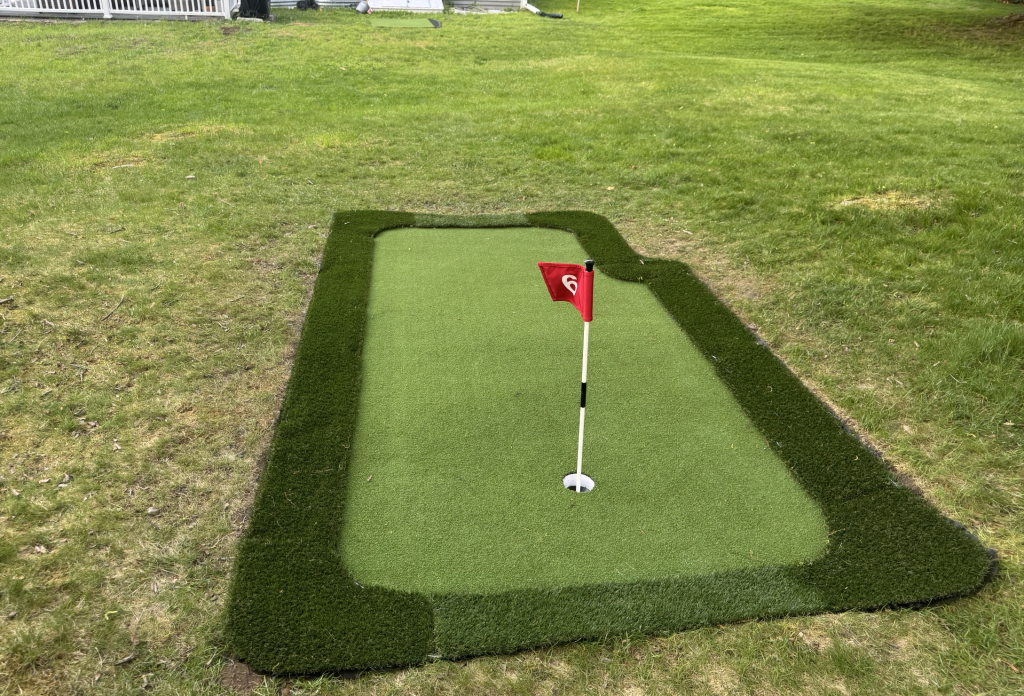
- Test some putts and chips — your green is ready to play!